We introduce the creation of textures using Pencil+ 2 Material's [Advanced Settings] / [Light Color].
We shall cause specific Zones to be affected by the color of the light.
We shall cause specific Zones to be affected by the color of the light.
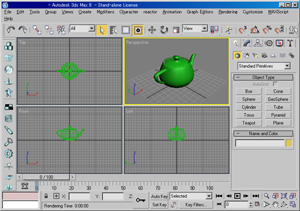 Create a teapot so that it is easy to observe the highlight effect.
Go to the [Create] panel and press the [Geometry] button, then select [Standard Primitives]. Finally press the [Teapot] button in the [Object Type] rollout. Create a Pencil+ 2 material and configure a simple texture using 2 gradations.
*See the tutorial "Using Pencil+ 2 Materials" for an introduction to the creation of materials.
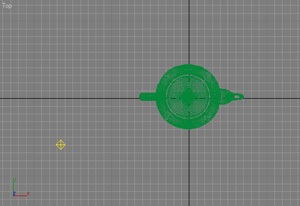
 Create the light source to be applied to the material.
Press the [Omni] button in [Create] panel / [Lights] / [Standard] to create the light source. Set a color for the light.
Select the light and change the color in the [Modify] panel / [Intensity/Color/Attenuation] rollout. Also set the value of [Multiplier] to 2.0. Configure the effect of the light on the material.
Go to [Pencil+ 2 Material] / [Basic Parameters] rollout / [Advanced Settings] / [Light Color] and check the [Enable] check box. Restrict the Zones affected by the light using the [Zones to Apply] check boxes.
This time we shall only make Zone 3 affected by the light. We can confirm that only Zone 3 is affected by the light color by rendering the scene.
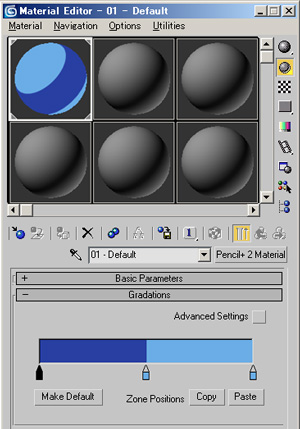 Create a Pencil+ 2 material and configure a simple texture using 2 gradations.
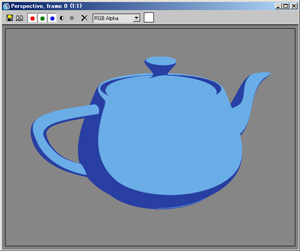
 Create the light source to be applied to the material.
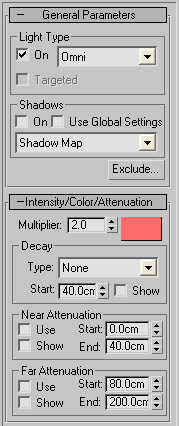 Set a color for the light.
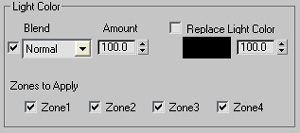 Configure the effect of the light on the material.
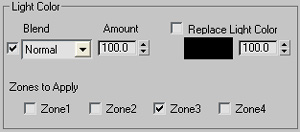 Restrict the Zones affected by the light using the [Zones to Apply] check boxes.
